Ethical Bird Photography: Notice When to Back Away
- Let the Bird Set the Distance
- What Is the First Ethical Check?
- How Do You Approach Without Pressuring the Bird?
- When Should You Stop Taking Photos?
- Why Are Nests a Different Category?
- Are Playback, Bait, Flash, and Drones Acceptable?
- How Do You Protect Habitat and Other People?
- Should You Share the Exact Location?
- What Makes an Honest Caption?
- Can Better Gear Make Photography More Ethical?
- Sources
Let the Bird Set the Distance
Ethical bird photography begins before the shutter: stay far enough away that the bird continues its normal behavior. Never chase, flush, surround, bait, or use playback for a photograph. Give nests, roosts, display sites, feeding birds, and sensitive habitat extra space. If a bird watches you instead of feeding, changes posture, stops calling, retreats, freezes, or leaves, back away.
The photograph is optional. The bird's uninterrupted day is not.
This does not require joyless photography. It requires changing the goal from “fill the frame at any cost” to “make the best image available from an acceptable position.” Sometimes that image is a wide environmental portrait. Sometimes it is a record shot. Sometimes the ethical frame contains no bird because you lowered the camera and left.
What Is the First Ethical Check?
Ask one question before moving: Is the bird behaving as it did before I arrived?
The current Audubon guide to ethical bird photography says photographers should maintain enough distance for the subject to behave naturally. It treats flushing or another behavior change as evidence that the photographer is too close and notes that some birds freeze rather than fly.
Watch for a sequence, not a single dramatic alarm. A bird may turn toward you, stop preening, stand more upright, interrupt feeding, move away, or prepare to fly. Do not wait for a full escape response to decide you have crossed the line. Stop advancing and retreat along the route you used.
There is no universal ethical distance for every species and setting. Follow posted closures and any official minimum distance. Then use the bird's response to increase that distance when necessary. A legal position can still be disruptive.
How Do You Approach Without Pressuring the Bird?
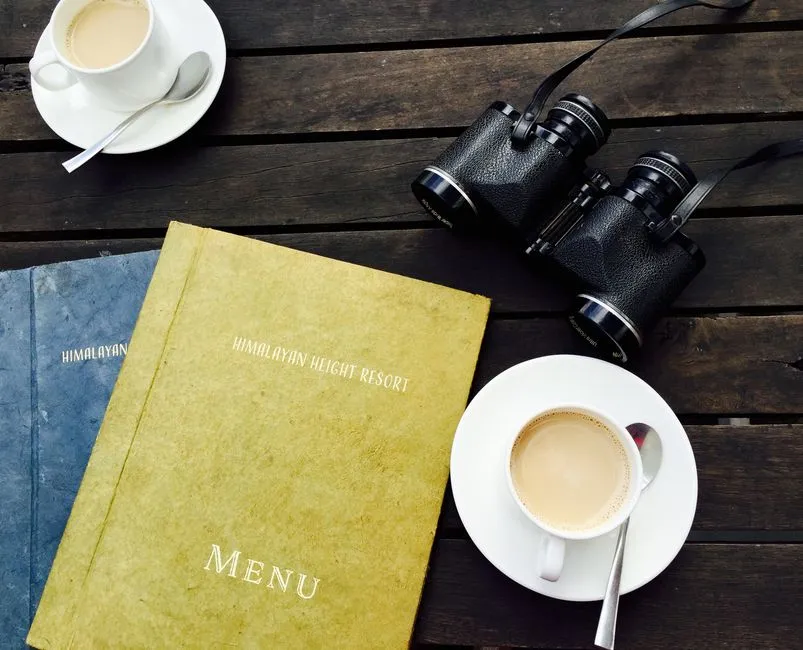
Begin where you first see the bird. Observe through binoculars, identify any sensitive context, and decide whether photography is appropriate before unpacking a plan. Our guide to how to identify birds can help you read shape and behavior without demanding a closer portrait.
If the bird is relaxed and the site permits photography:
- Set the camera before moving so adjustments do not extend the approach.
- Stay on established paths, overlooks, or public viewing areas.
- Use available focal length rather than repeatedly closing the distance.
- Move slowly and stop well before the bird reacts.
- Keep the session brief enough that your presence does not block feeding, movement, or access to cover.
- Leave by the same low-pressure principle; do not make the bird move so you can pass.
A blind or fixed viewing structure can reduce disturbance when it is permitted and already suitable for the site. Do not build, move vegetation, or modify habitat to create a cleaner background.
If several photographers are present, consider the pressure created by the group rather than your own distance alone. Do not surround the bird or close an escape route. Give other visitors room to watch, and leave if the gathering is changing the bird's behavior.
When Should You Stop Taking Photos?
Stop when the bird's behavior changes because of you, when your position affects another bird, or when the site rules require it. Specific stop signs include:
- flushing, running, swimming, or climbing away;
- freezing, crouching, hunching, or adopting an alert posture;
- repeated alarm calls or attention fixed on the photographer;
- interrupted feeding, preening, courtship, incubation, or chick care;
- an adult hesitating to approach a nest or young;
- a bird repeatedly changing perches as the camera follows;
- another person, vehicle, pet, or predator being drawn toward the bird by the activity.
Lower the camera and back away. Do not test whether the bird will “settle down” while you remain in the same position. The stop belongs to the bird, not to the memory card.
Why Are Nests a Different Category?
Nests are not ordinary portrait locations. Adults may be incubating, brooding, feeding young, or trying to avoid revealing the site. Photographer movement can keep an adult away, expose eggs or chicks, damage cover, or leave a route through vegetation.
Do not approach a nest for a photograph. Do not touch a nest, eggs, or young; move branches; trim leaves; make a viewing hole; clear a foreground; or create a trail. Do not use a wide-angle or macro setup near an active nest, even with a remote trigger. Never deploy a drone at a nest.
Audubon's photography guidance specifically says to avoid flushing adults or frightening young, not to move or cut material around a nest, and not to use drones for nest photography. Cornell's NestWatch Code of Conduct describes accidental harm, parental desertion, and attracting predators as risks around nests; it also warns against damaging vegetation or leaving tracks that can direct predators to a nest.
Nest monitoring for an approved citizen-science protocol has its own rules and is not a general photography invitation. Follow that program's instructions exactly. Otherwise, observe from a public, established position at a distance that does not change adult or young behavior.
Are Playback, Bait, Flash, and Drones Acceptable?
Playback: no. Do not broadcast calls or songs to pull a bird into view, provoke a territorial response, or move it to a better perch. Audubon's guide says playback should not be used and explains that a bird responding to a perceived challenger may leave eggs or chicks exposed.
Bait: no. Do not place live or dead prey, processed food, decoys that imitate prey, or another lure to stage a photograph. Never bait predatory birds. A feeding station maintained for birds' welfare is not permission to add food or move equipment for a shot; established feeder hygiene and placement still govern it.
Flash: generally avoid it. Audubon advises using flash sparingly, if at all, and avoiding flash on nocturnal birds at night. Natural light, a higher camera sensitivity, a slower shutter where appropriate, or simply accepting the available photograph does not require the bird to absorb repeated bursts.
Drones: no. Do not fly a drone toward birds or their nests. Follow all park, refuge, aviation, and local restrictions. A photographer cannot judge a bird's comfort from the controller screen with enough certainty to make a close approach acceptable.
Remote cameras are not automatically harmless. Installing, retrieving, powering, or checking one can disturb habitat or create repeated visits. Do not set one near a nest, den, active roost, or another sensitive place unless you are working under a legitimate research or conservation protocol with the required permissions.
How Do You Protect Habitat and Other People?
Stay on designated routes where required. Do not trample vegetation, cross ropes or closures, enter private land without permission, or block another visitor's access. Check the rules for tripods, blinds, flash, drones, group size, parking, and opening hours before arriving.
The American Birding Association Code of Birding Ethics calls for minimizing habitat disturbance, using restraint when approaching or recording birds, being particularly cautious around nests, roosts, display sites, and feeding sites, and following site rules. It also says to respect other people and obtain permission before entering private property.
Equipment does not confer priority. Keep tripod legs out of paths, do not stand in roads, and avoid forcing others into unsafe or prohibited areas. If a long lens makes your chosen position physically unstable, relocate or stop; no image requires balancing on a barrier, cliff edge, wet rock, or traffic shoulder.
Should You Share the Exact Location?
Not always. Before posting, ask whether coordinates, landmarks, file metadata, or a recognizable background could direct more people to a nest, roost, rare bird, or sensitive habitat. Remove location metadata and omit directions when publicity could increase disturbance or exploitation.
The eBird Help Center's current page on sensitive species explains that public site-level records can expose some birds to capture, hunting, or targeted disturbance. It asks observers to use discretion on public platforms and not provide explicit coordinates or directions for sensitive records.
Apply the principle beyond formal lists. A common species at an active nest or vulnerable roost may still need location privacy. Consult local birding organizations, land managers, and platform-specific guidance when you are unsure.
What Makes an Honest Caption?
Describe the circumstances that matter. If the bird was captive, photographed from a blind, or observed under a supervised research setting, say so. Do not crop out bands, handlers, fencing, food, or other context and then imply an unassisted wild encounter.
Avoid captions that teach readers how to reach a sensitive site. Species, broad region, month, habitat, and behavior may tell a useful story without a pin. If ethical context is unusual, explain it plainly rather than leaving the image to suggest a more dramatic pursuit.
Before posting, run one final check:
- Did the bird remain in normal behavior?
- Was the image made without playback, bait, flushing, or habitat change?
- Were nest, property, and site rules respected?
- Could location details create pressure on the bird or habitat?
- Does the caption accurately describe the circumstances?
If the answer to any item is uncertain, hold the photograph. Editing can wait; welfare cannot.
Can Better Gear Make Photography More Ethical?
Longer focal length, stabilization, and a camera that performs well in available light can help a photographer work from farther away, but equipment does not create permission to approach. Cropping a modest record image is preferable to making the subject leave.
Our guide to bird-watching binoculars explains viewing tradeoffs that also help you observe before deciding whether to raise a camera. Start with behavior, choose a position, and let the photograph fit what the bird allows.
The finest field skill is knowing when the picture is already good enough. The second finest is recognizing when there should be no picture at all.